UCLA Health Insurance Waiver Application Tutorial
UCLA Health Insurance Waiver Application Tutorial
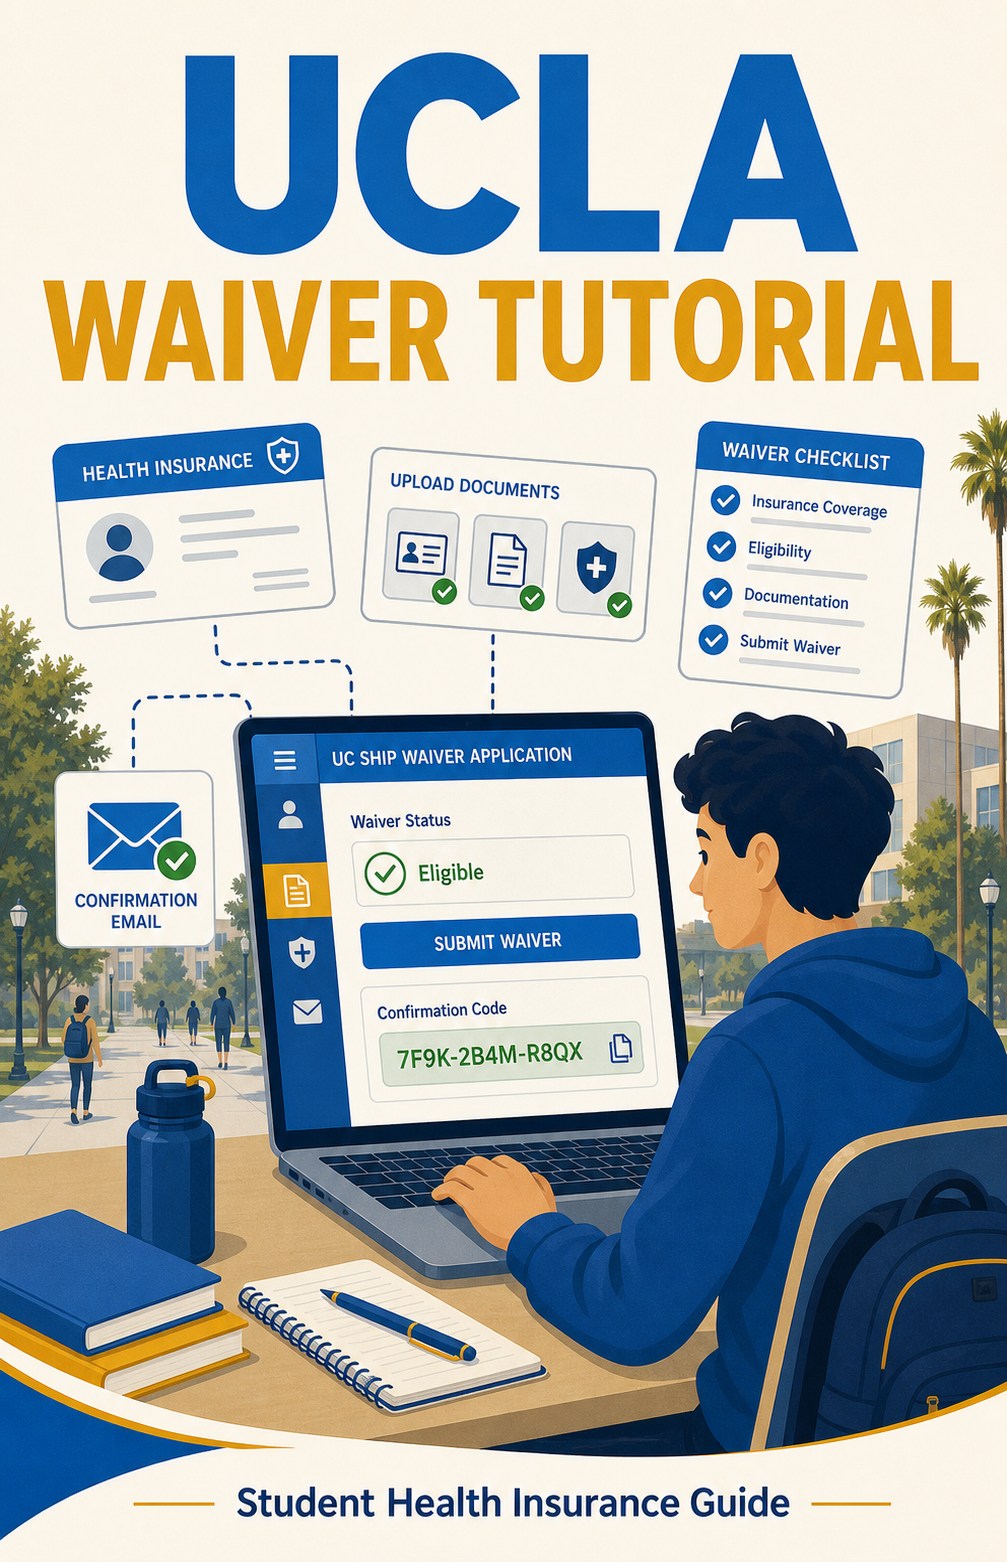
Step 1: Open the Waiver Application Page
Open the official UCLA UC SHIP waiver page below:
https://www.studenthealth.ucla.edu/insurance/benefits/waiving-uc-ship
During the designated waiver period, click the “UCSHIP Waiver Application” button to enter the waiver system.

Step 2: Answer the Health Insurance Questions
Complete the waiver questions based on your insurance plan. Use the screenshots as a guide for where to select the answers and where to upload the required documents.
- Select the health insurance plan type that matches your plan.
- Answer the Medi-Cal question according to your own situation.
- Confirm whether your plan provides required access and coverage.
- Upload proof of insurance coverage, including the front and back of your insurance ID card and any required policy or benefits document.


Step 3: Fill In Student and Policy Holder Information
Enter your personal information and policy holder information. The policy holder is usually yourself if you are the insured student. Fill in the member ID, insurance type, insurance company, phone number, and other required fields using your insurance card and confirmation documents.

Step 4: Submit and Keep the Confirmation Code
After submitting your waiver application, you should receive an auto-generated confirmation code. Keep this code for your records. If you do not receive a confirmation code, the waiver request was not successfully submitted.