UC Davis Health Insurance Waiver Application Tutorial
UC Davis Health Insurance Waiver Application Tutorial
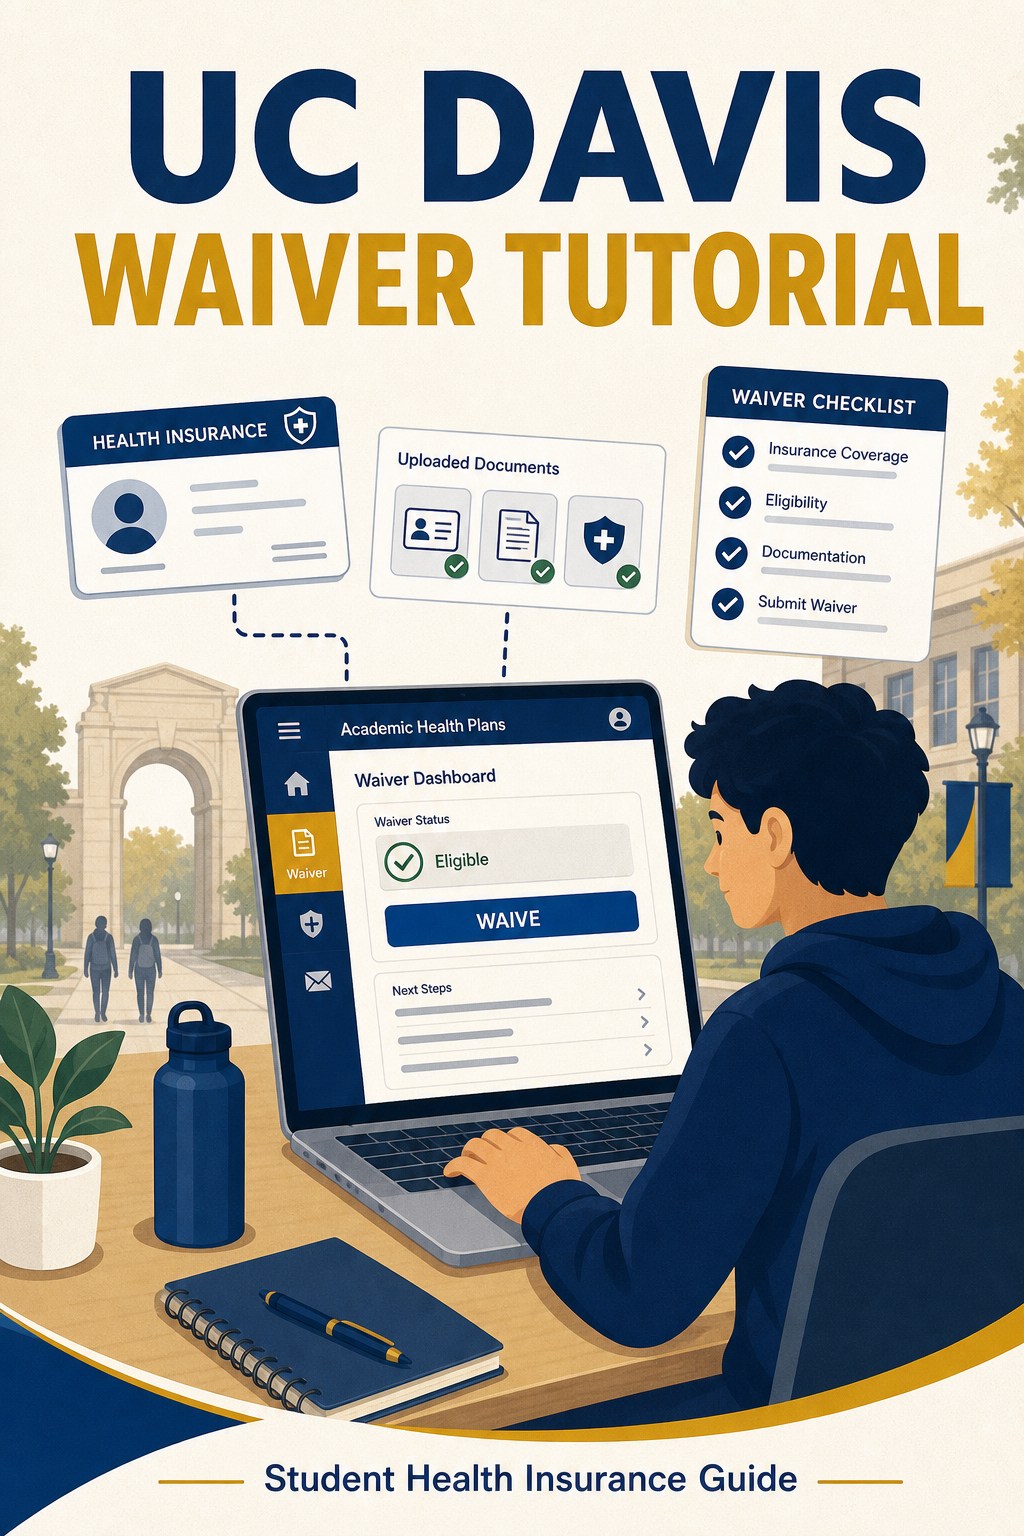
Step 1: Log in to the Waiver Submission Page
Open the official UC Davis waiver link below:
https://www2.academichealthplans.com/school/7004.html
After logging in, click the waiver button for the current quarter and international student term.

Step 2: Complete the Online Waiver Form
Read the important information carefully, then complete the health insurance questions. Use the example selections shown in the screenshot as guidance.
- Health insurance plan type: choose “Other”.
- Medi-Cal question: choose “I do not have”.
- Access to in-network PCP and hospital within 175 miles: choose “Yes”.
- Coverage for listed services: choose “Yes”.
- Main reason for waiving UC SHIP: choose the option that best matches your situation, such as finding another plan that costs less.

Continue answering the remaining coverage questions as shown, then upload the required supporting documents.
- Upload your insurance card.
- Upload your confirmation letter.
- Upload your policy or Summary of Benefits and Coverage, if requested.

Step 3: Fill In Personal and Policy Holder Information
Enter your personal information and policy holder information. The policy holder is yourself. Select “Other” for insurance company if your plan is not listed, choose “Self” for relationship to student, and fill in your member ID and group number from your insurance documents.
After reviewing the student agreement, sign and date the form, then submit the waiver. Please allow seven to ten business days for waivers to be processed.
